从CentOS上安装Apache到启动,需要进行初始配置。
出版日期:2020年12月8日。
INFOMARTION > 从CentOS上安装Apache到启动,需要进行初始配置。
概述。
在CentOS上安装和启动Apache所需的初始配置步骤。 这些信息是基于使用CentOS7的假设。
版本如下。
| CentOS版本 | 7.6 (1810) |
|---|---|
| 阿帕奇版本 | 2.4.6 |
目录
- 安装
- 1-1. 安装Apache
- 1-2. 开机检查(http访问)
- 基本设置
- 2-1. 创建日志文件输出文件夹
- 2-2. 领域设置
- 2-3. 激活SSL模块和配置文件
- 2-4. 改变日志输出路径
- 2-5. 创建SSL证书
- 2-6. 永久的SSL(安全套接字层)
- 2-7. 确认激活(https访问)。
- 2-8. 自动启动设置
- 摘要
1. 安装
本节介绍了Apache从安装到启动的配置。
1-1. 安装Apache
通过yum命令进行Apache的安装。 以根用户身份开展工作。
[username@hostname ~]$ su -
[root@hostname ~]# yum -y install httpd
1-2. 开机检查(http访问)
简要检查是否可以进入。 用yum命令安装Apache(httpd)时,可以启用apachectl命令。 用这个来启动Apache。
[root@hostname ~]# apachectl start
[root@hostname ~]# apachectl status
* httpd.service - The Apache HTTP Server
Loaded: loaded (/usr/lib/systemd/system/httpd.service; disabled; vendor preset: disabled)
Active: active (running) since Sun 2020-12-06 17:08:12 JST; 1s ago
Docs: man:httpd(8)
man:apachectl(8)
Main PID: 1303 (httpd)
Status: "Processing requests..."
CGroup: /system.slice/httpd.service
|-1303 /usr/sbin/httpd -DFOREGROUND
|-1304 /usr/sbin/httpd -DFOREGROUND
|-1305 /usr/sbin/httpd -DFOREGROUND
|-1306 /usr/sbin/httpd -DFOREGROUND
|-1307 /usr/sbin/httpd -DFOREGROUND
`-1308 /usr/sbin/httpd -DFOREGROUND
Dec 06 17:08:11 localhost.localdomain systemd[1]: Starting The Apache HTTP Server...
Dec 06 17:08:12 localhost.localdomain httpd[1303]: AH00558: httpd: Could not reliably determ...ge
Dec 06 17:08:12 localhost.localdomain systemd[1]: Started The Apache HTTP Server.
Hint: Some lines were ellipsized, use -l to show in full.
如果执行 "apachectl status "命令的结果是 "Active: active (running)",说明系统已经成功启动。
然后从你的浏览器访问Apache。 设置http权限,因为在CentOS7上,防火墙(或CentOS6及以前的iptables)默认只允许ssh访问。 我还想为https设置一个集体权限。 还可以添加 "永久 "选项,使配置永久化。
[root@hostname ~]# firewall-cmd --permanent --add-service=http
[root@hostname ~]# firewall-cmd --permanent --add-service=https
[root@hostname ~]# firewall-cmd --reload
[root@hostname ~]# firewall-cmd --list-all
public (active)
target: default
icmp-block-inversion: no
interfaces: eth0
sources:
services: dhcpv6-client http https ssh
ports:
protocols:
masquerade: no
forward-ports:
source-ports:
icmp-blocks:
rich rules:
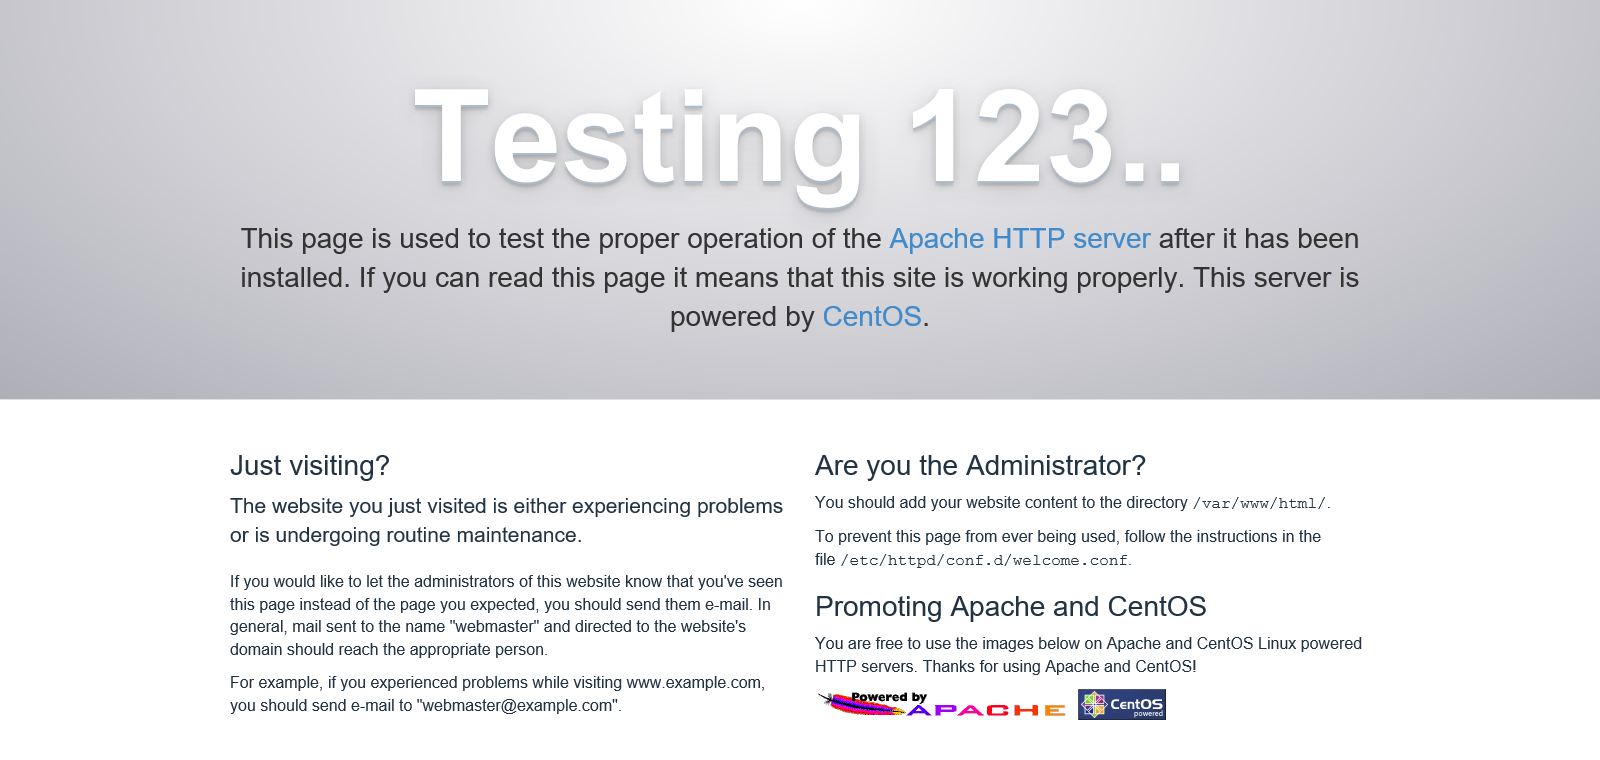
如果'http'和'https'已经被添加到'services'中,那就可以了。 通过浏览器访问。 在我的例子中,服务器的IP地址是192.168.50.10,所以我访问 "http://192.168.50.10"。 如果出现以下页面就可以了
一旦系统成功启动,就停止它。
[root@hostname ~]# apachectl stop
2. 基本设置
2-1. 创建日志文件输出文件夹
为了管理/var/log/下的日志,在/var/log/下创建一个httpd目录作为Apache日志的文件夹。
权限(permissions)应该是755。 这个设置允许Apache写,但其他用户只能读。 如果其他用户可以写入,日志就会被篡改。
如果已经创建了一个同名的目录,就不需要执行'mkdir /var/log/httpd'了。
[root@hostname ~]# mkdir /var/log/httpd
[root@hostname ~]# chmod 755 /var/log/httpd
使用后一个程序来改变Apache日志输出目的地设置。
这个程序只是为要存储的日志创建一个文件夹的程序。
2-2. 领域设置
改变httpd.conf中列出的域名设置。 Apache的配置基本上都集中在httpd.conf中,所以如果你想改变配置,请修改httpd.conf。 如果环境是本地的(不在互联网上对公众开放),则不需要设置域名。
[root@hostname ~]# vi /etc/httpd/conf/httpd.conf
# 取消注释并启用ServerName设置。 域名是根据环境来设置的。
#ServerName www.example.com:80
ServerName domainname:80
2-3. 激活SSL模块和配置文件
启用SSL以允许通过https访问。 SSL设置与SEO有关,而http首先出于安全原因不是一个好主意,所以除非你必须使用http,否则就使用https。
用yum安装ssl模块。
[root@hostname ~]# yum -y install mod_ssl
用yum安装会自动启用ssl模块,所以你只需要安装它。 还会自动创建一个配置文件。 (/etc/httpd/conf.d/ssl.conf会自动创建)。
2-4. 改变日志输出路径
将Apache的日志输出目的地改为你刚刚创建的日志文件输出文件夹。 只修改ssl配置文件,因为它将在后续步骤中被设置为只能通过ssl(https)访问。
[root@hostname ~]# vi /etc/httpd/conf.d/ssl.conf
ErrorLog logs/ssl_error_log
TransferLog logs/ssl_access_log
~删节~
CustomLog logs/ssl_request_log \
"%t %h %{SSL_PROTOCOL}x %{SSL_CIPHER}x \"%r\" %b"
ErrorLog /var/log/httpd/ssl_error_log
TransferLog /var/log/httpd/ssl_access_log
~删节~
CustomLog /var/log/httpd/ssl_request_log \
"%t %h %{SSL_PROTOCOL}x %{SSL_CIPHER}x \"%r\" %b"
上述修改将日志输出目的地改为"/var/log/httpd "下。
'%t, %h',等等,这是日志格式化的设置。 以下是可能经常使用的格式清单,供参考。
【参考】
・%T:处理该请求所需的时间(秒)
・%h:客户端的主机名或IP地址。 只有当HostnameLookups被设置为On时,才会尝试解析主机名。
・%r:请求的第一行
・%b:响应的字节数(不包括HTTP头)。 CLF格式,即 - 如果没有一个字节被发送
・%D:处理请求的时间(微秒)。
・%>s:HTTP状态
2-5. 创建SSL证书
创建证书的程序。 对于私营企业来说,自我认证是可以的。 对于公开提供的服务器,应该不鼓励自我认证。
普通证书和自我证书在安全性上没有区别。 这可能是一个可以被第三方判断为可靠的证书和一个不可靠的证书之间的区别。 (通过自我认证,URL栏变成红色)。 因此,对于公开可用的服务器(被第三方看到的服务器),要签发普通的证书。
Apache的默认证书设置是"/etc/pki/tls/certs/localhost.crt "和"/etc/pki/tls/private/localhost.key"。
这些设置可以在"/etc/httpd/conf.d/ssl.conf "中的 "SSLCertificateFile "和 "SSLCertificateKeyFile "找到。
【用于自我认证】
要创建一个自我认证,请执行以下命令。 以根用户身份运行。
运行'openssl req -new -key /etc/pki/tls/private/localhost.key > /etc/pki/tls/certs/localhost.crt'会提示你几次,都是回车,没问题。 这将是关于谁在签发证书的信息(例如,他们住在哪个国家,他们的电子邮件地址是什么)。 如果你发行的是普通证书,请输入正确的信息并进行设置。
[root@hostname ~]# openssl genrsa > /etc/pki/tls/private/localhost.key
[root@hostname ~]# openssl req -new -key /etc/pki/tls/private/localhost.key > /etc/pki/tls/certs/localhost.csr
[root@hostname ~]# openssl x509 -req -signkey /etc/pki/tls/private/localhost.key < /etc/pki/tls/certs/localhost.csr > /etc/pki/tls/certs/localhost.crt
【对于普通证书】
要创建一个普通的证书,请执行以下命令。 以根用户身份运行。
[root@hostname ~]# openssl genrsa -out /etc/pki/tls/private/localhost.key 2048
[root@hostname ~]# openssl req -new -key /etc/pki/tls/private/localhost.key -out /etc/pki/tls/certs/localhost.csr
对于普通证书来说,这并不足以完成这一过程。 这项工作包括将创建的'server.csr'交给证书颁发机构,以便颁发服务器证书,并安装已颁发的服务器证书。
2-6. 永久的SSL(安全套接字层)
如果通过http访问,安全性就不高,所以增加一个设置,如果通过http访问,就重定向到https。
可以禁止通过http访问,但从可用性的角度来看,建议设置一个重定向。 以根用户身份执行以下任务。
[root@hostname ~]# vi /etc/httpd/conf/httpd.conf
在最后添加以下内容。
<IfModule rewrite_module>
RewriteEngine on
RewriteCond %{HTTPS} off
RewriteRule ^(.*)$ https://%{HTTP_HOST}%{REQUEST_URI} [R=301,L]
</IfModule>
可以改变这一设置,使以http方式进入的访问以https方式处理。
据介绍,如果你是通过https来的,这个设置就不起作用。 (RewriteCond %{HTTPS} off)
不要忘记提到,如果没有这个设置,https访问也会被重定向,导致无休止的循环。
2-7. 确认激活(https访问)。
现在各种设置已经完成,检查该网站是否可以通过https访问。 首先启动。
[root@hostname ~]# apachectl start
通过浏览器访问。 与http访问相同,但在我的情况下,服务器的IP地址是192.168.50.10,所以我访问 "http://192.168.50.10"。
由于包含了http重定向设置,URL从 "http://192.168.50.10 "变为 "https://192.168.50.10"。
现在它已经成功启动了,停止Apache。
[root@hostname ~]# apachectl stop
2-8. 自动启动设置
最后,虽然不是强制性的,但每次重启服务器时都要启动Apache是很难的,所以要设置一个配置,使Apache在服务器启动时自动启动。 它也注册到了systemctl命令。 请注意,这个过程是针对CentOS7的,所以如果你使用的是CentOS7以外的系统,你将需要使用Service命令来处理这个问题。
创建一个 "apache.service "文件并描述所需的设置。
[root@hostname ~]# touch /etc/systemd/system/apache.service
[root@hostname ~]# vi /etc/systemd/system/apache.service
以下是提供的信息。
[Unit]
#描述。
Description=Apache
#执行前和执行后的控制。
#Before=xxx.service
#After=xxx.service
[Service]
#用户和组的指定
User=root
Group=root
#一旦激活,将状态设为已激活。
Type=oneshot
RemainAfterExit=yes
#启动、停止和重新加载。
ExecStart=/usr/sbin/apachectl start
ExecStop=/usr/sbin/apachectl stop
ExecReload=/usr/sbin/apachectl restart
[Install]
#运行级别3的同等设置。
WantedBy=multi-user.target
当你完成描述后,用systemctl命令注册它。
[root@hostname ~]# systemctl enable apache
[root@hostname ~]# systemctl is-enabled apache
enabled
[root@hostname ~]# systemctl list-unit-files --type=service | grep apache
apache.service enabled
[root@hostname ~]# systemctl daemon-reload
3. 摘要
我们已经描述了安装Apache时需要的初始配置。
Apache基本上在默认设置下可以在一定程度上工作,但如果你真的定制了它,请参考日志输出目的地设置和SSL设置,你应该在操作系统时改变这些设置。
谢谢你一直看到最后。
